
Acoustic Wall Panel Installation: Layout, Fixing and Finishing
Successful acoustic wall panel installation depends on choosing a fixing method that suits the polyester fiber panel, the wall substrate, and the intended acoustic construction. A reliable result also requires accurate setting-out, secure attachment, clean edges, and consistent joints.
Self-adhesive or separately bonded panels can be suitable for flat, dry, sound interior walls when the adhesive is compatible with the surface. Mechanical fixings or battens may be preferable when panels need to be removable, a specified rear air gap is part of the design, or direct bonding is unsuitable. The installation sequence is shown below; the detailed methods and checks follow.
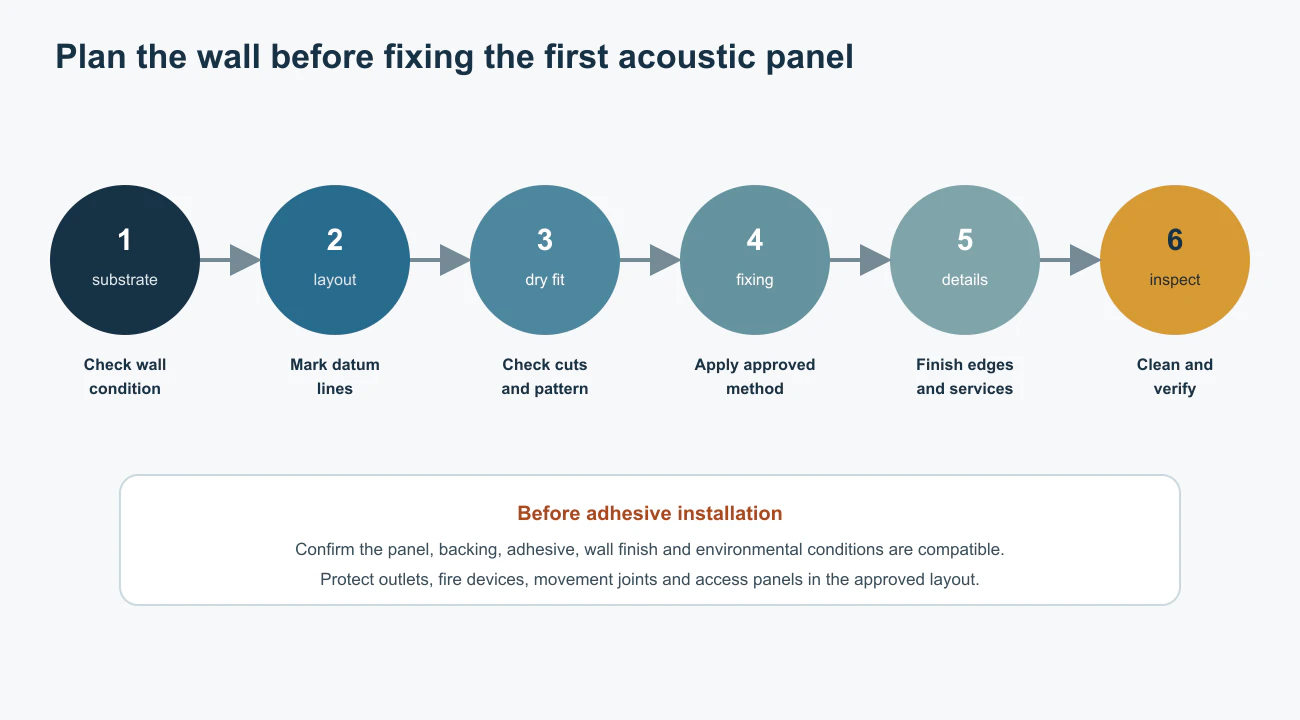
Key checks before and during installation:
- Before installationConfirm the substrate, panel dimensions, and intended layout.
- Select the fixing systemMatch the adhesive or mechanical support to the panel and the wall.
- Control the finishCheck joint lines, panel orientation, edges, and openings throughout the work.
Check the Wall and Plan the Panel Layout
Polyester fiber panels may be installed directly against a wall or as part of a spaced mounting assembly. Before acoustic wall panel installation begins, confirm the treatment area, wall condition, panel dimensions, fixing method, and any requirements for a rear cavity.
For direct bonding, the wall finish must be stable, sufficiently flat, dry, and compatible with the selected adhesive or self-adhesive backing. Adhesive cannot compensate for loose coatings or a persistently damp substrate. Mechanical systems instead need a supporting structure, suitable anchorage points, and hardware appropriate to the panel's thickness and construction. Where battens create an air space, confirm the required depth and panel position against the acoustic design.
Set the panel orientation and joint pattern before work begins. Identify switches, sockets, inspection panels, and other fittings that affect cutting or access. On larger walls, coordinate panel dimensions with the treatment area to limit unnecessary offcuts and maintain consistent joint lines.
Insulvora supplies polyester fiber acoustic panels for interior wall treatment. The current product range includes 15 mm self-adhesive panels in 400 × 400 mm and 300 × 600 mm formats. These modular sizes can be arranged for continuous coverage, selected treatment areas, or decorative layouts. Around doors, fittings, and irregular corners, plan the edge pieces before cutting. For formats, available specifications, and finishes, see the Polyester Fiber Acoustic Panel product page.
Adhesive and Mechanical Fixing for Acoustic Wall Panel Installation
Direct Fixing with Self-Adhesive Panels
Self-adhesive panels offer a direct fixing option where the prepared interior surface is compatible with the backing. For acoustic wall panel installation over a large area, test a small section first to check adhesion, panel flatness, and the appearance of the joints.
Mark the reference lines and dry-fit the first row. Remove the release liner as directed by the backing system, position each panel carefully, and press it progressively into place. Apply even pressure across the bonded surface, including edges and corners.
Avoid repeatedly lifting a panel after firm contact. Repositioning can weaken the bond or damage the existing wall finish, so confirm the panel's position before pressing it down.
Fixing Panels with a Separate Adhesive
Panels without self-adhesive backing can be installed with an adhesive compatible with both the polyester fiber panel and the wall surface. Adhesives vary in application pattern, open time, initial grab, curing requirements, and the need for temporary support. Contact and construction adhesives should not be assumed to use the same procedure.
Follow the selected system's instructions for application, positioning, pressure, and curing. During acoustic wall panel installation, avoid excessive adhesive buildup that may create visible bumps. Keep adhesive off the exposed face and out of the joints, and support panels as required until the bond develops adequate strength.
Mechanical Fixing and Batten Systems
Mechanical mounting may be appropriate for removable panels, a specified rear air space, or wall conditions that make direct bonding unsuitable. The assembly may use battens, clips, retaining trims, or compatible hanging hardware. Fix the supports into a substrate capable of carrying the assembly, using connections suitable for the panel's construction.
Polyester fiber panels may be flexible or semi-rigid. Concentrated pressure and over-tightened fasteners can indent the surface, distort the panel, or pull through the material. Distribute the fixing load without damaging the face.
For acoustic wall panel installation on battens, maintain the designed cavity depth and panel position. Arrange any visible fixing details to work with the intended joint pattern and finished appearance.
Six Steps for Acoustic Wall Panel Installation
Step 1: Inspect and Prepare the Substrate
Check the wall for flatness, dryness, and a stable finish. Remove dust and loose coatings, and correct defects that could prevent secure fixing.
Locate switches, sockets, access panels, fire-safety devices, and movement joints before covering the wall. These elements must remain accessible or functional after installation.
Step 2: Mark Out the Layout
Establish horizontal and vertical reference lines for the first panel and the main joints. On broad walls, balance the layout in prominent areas and place cut pieces toward the boundaries rather than leaving narrow strips in highly visible positions.
Confirm the direction of any texture, face pattern, or color arrangement before cutting. Check alignment as the work progresses so small errors do not accumulate during acoustic wall panel installation.
Step 3: Dry-Fit and Cut the Panels
Trial-fit panels at corners, perimeter edges, and service openings before permanent fixing. Use a sharp cutting tool appropriate for the panel thickness, with a straightedge or cutting guide.
Support the material during cutting to avoid dragging fibers, compressing the visible face, or leaving ragged edges. Measure irregular openings on site and verify the dimensions before making the cut.
Step 4: Fix the Panels
Follow the selected method in Section 02, including its requirements for adhesive pressure and curing or the distribution of mechanical loads. Work from the marked reference lines rather than relying on the position of an adjacent panel alone.
Check levels, alignment, and joint spacing after each area is fixed. Correct any developing offset early instead of carrying it through the remaining rows of the acoustic wall panel installation.
Step 5: Finish Edges and Openings
Keep visible edges straight and joint widths consistent with the planned pattern. Trim neatly around doors, windows, sockets, switches, and service points without restricting their operation or future access.
Do not rigidly bridge an active building movement joint with continuous paneling; use a suitable detail that allows the joint to function.
Step 6: Clean and Inspect the Finished Wall
Check panel flatness, the overall pattern, color and texture direction, joint continuity, corners, and cutouts. For adhesive-fixed panels, inspect edges for lifting and check for local loss of contact after curing. For mechanically fixed panels, verify connection security and look for compression or distortion.
Remove installation residue, then inspect the exposed faces for adhesive marks, dirt, and damaged fibers.
How the Mounting Structure Affects Sound Absorption
Acoustic wall panel installation affects more than appearance. Panel placement, coverage, and the structure behind the material influence how the completed treatment performs in a room.
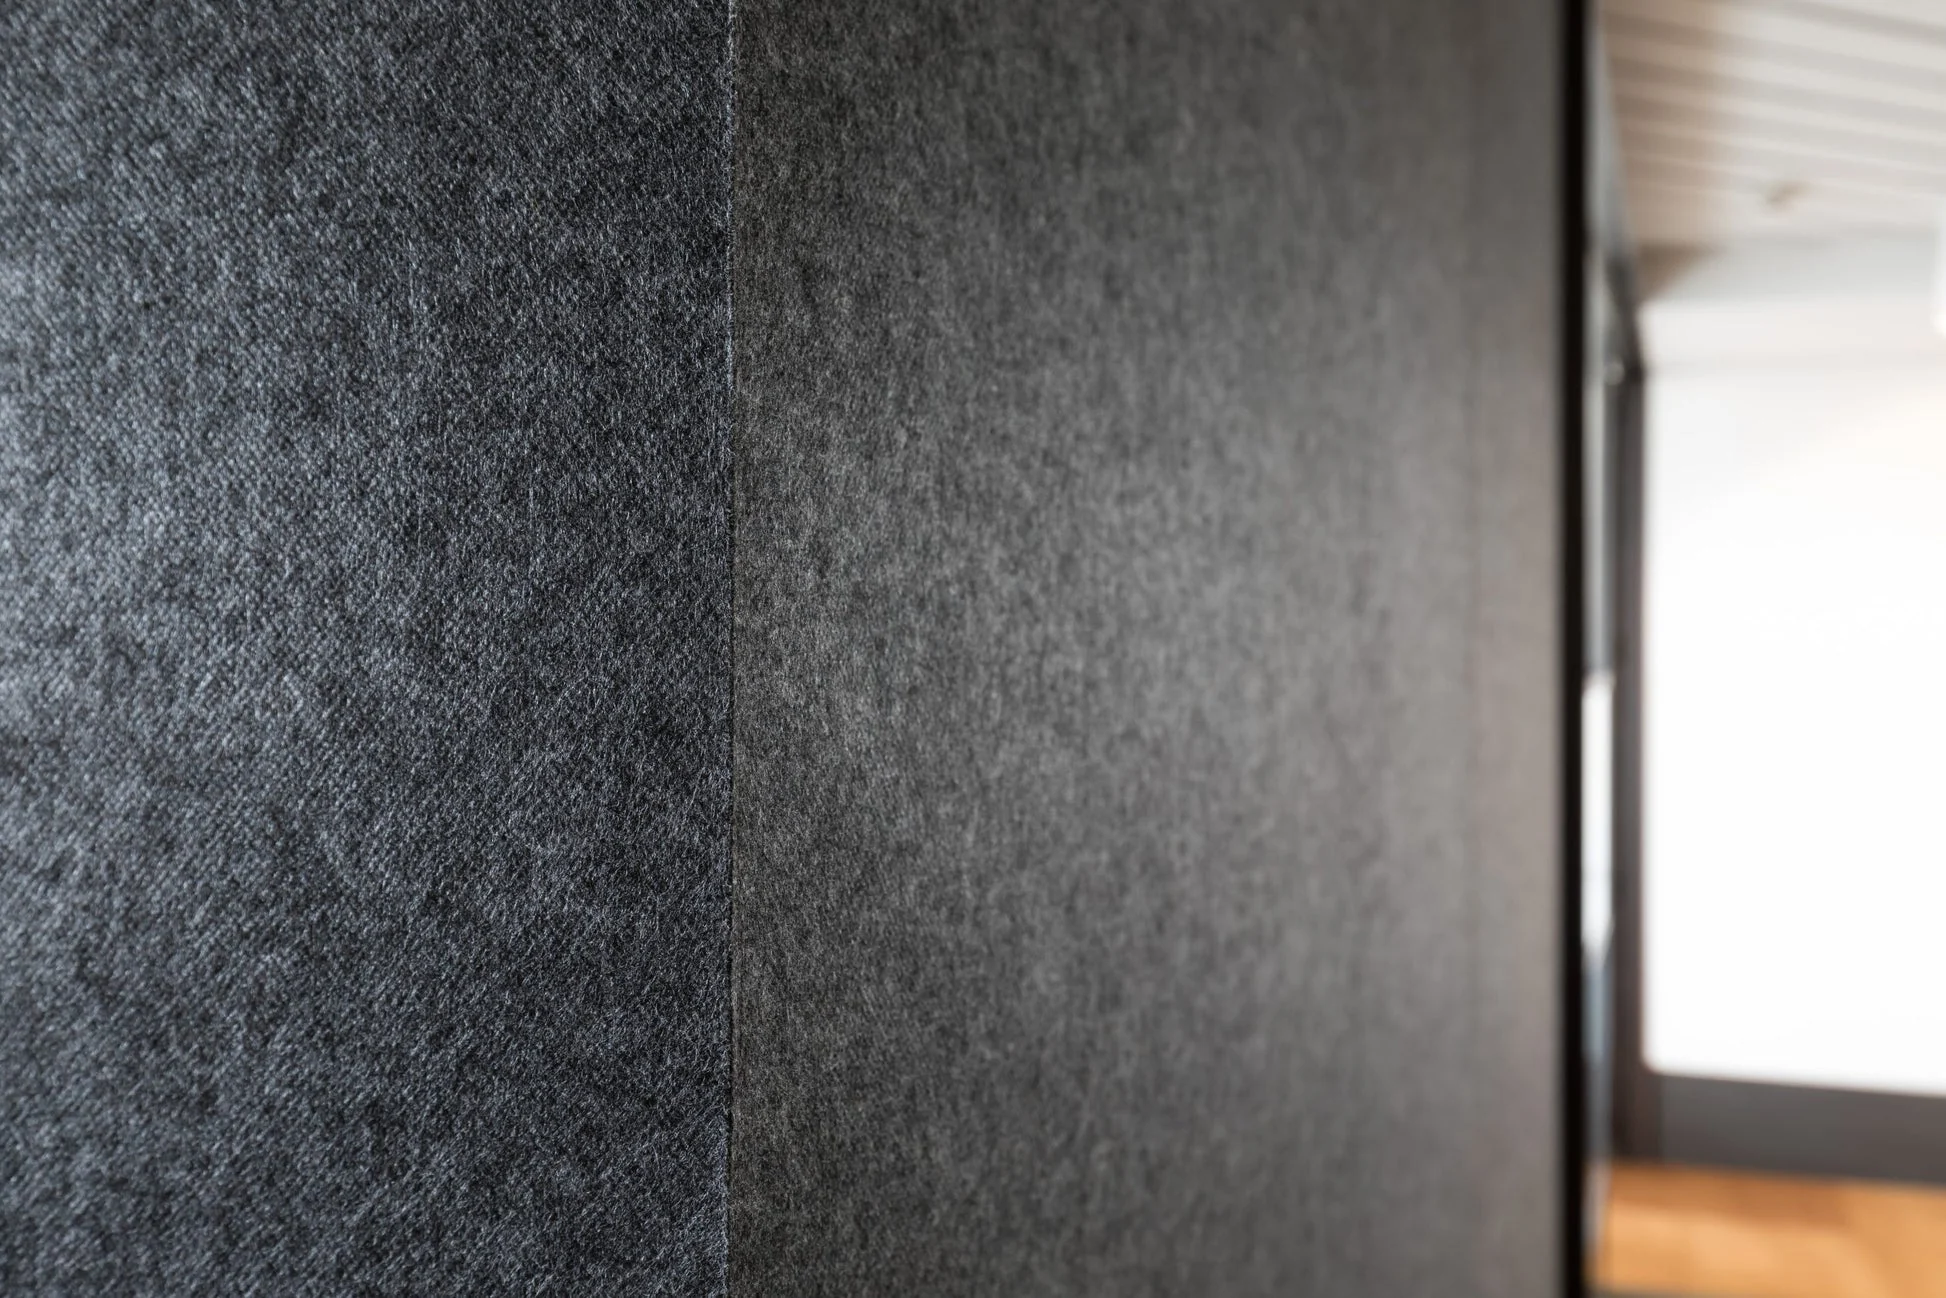
Polyester fiber panels fixed directly to a wall help absorb reflected sound and control excessive reverberation. In offices, meeting areas, and some recording environments, placing treatment where it is needed can be more useful than covering every wall surface without a specific plan. For room-related placement, see Office Acoustic Panels and Studio Acoustic Panels.
A rear air gap can change the frequency-dependent absorption response of the complete assembly and may affect some lower and middle frequencies. It does not automatically improve absorption at every frequency. Panel thickness, material properties, cavity depth, and the mounting arrangement all influence the result.
Sound absorption within a room is different from sound insulation between rooms. Surface-mounted polyester fiber panels can reduce internal reflections, but they do not replace a wall system designed to limit sound transmission. For the separate wall-insulation requirement, see Acoustic Wall Insulation.
Acoustic Panels for Your Wall Project
For acoustic wall panel installation projects, Insulvora can review the intended wall layout, panel sizes, and fixing method to identify a suitable polyester fiber acoustic panel configuration and prepare a project quotation.